Usage: On the customer form you are able to find all of the necessary information about any customer in the database. Such as name, address, telephone number, etc.
Navigation: Just click on Customer button.
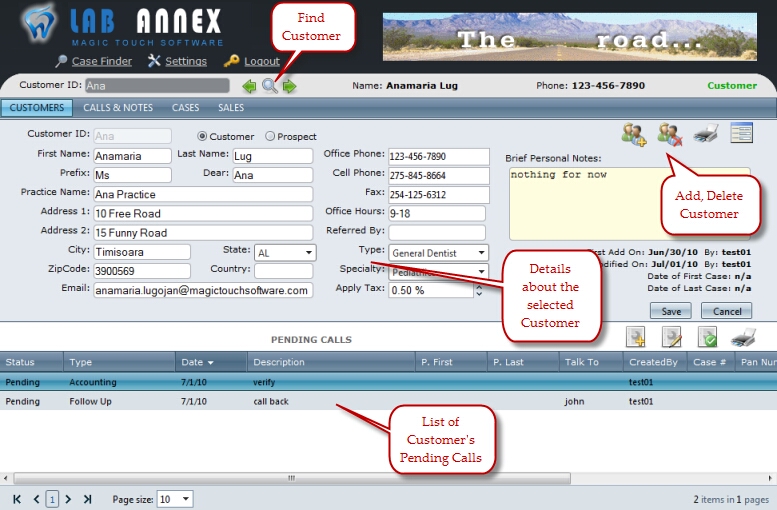
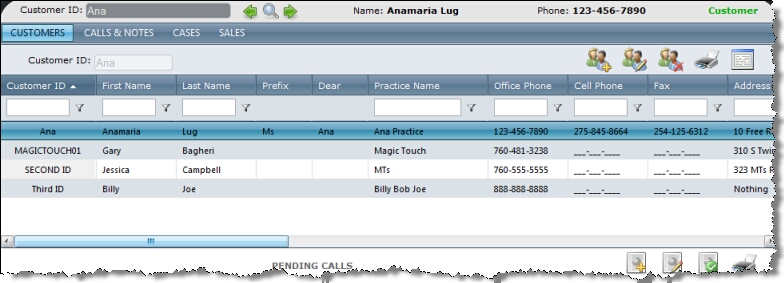
Customer menu with a selected Customer
How to:
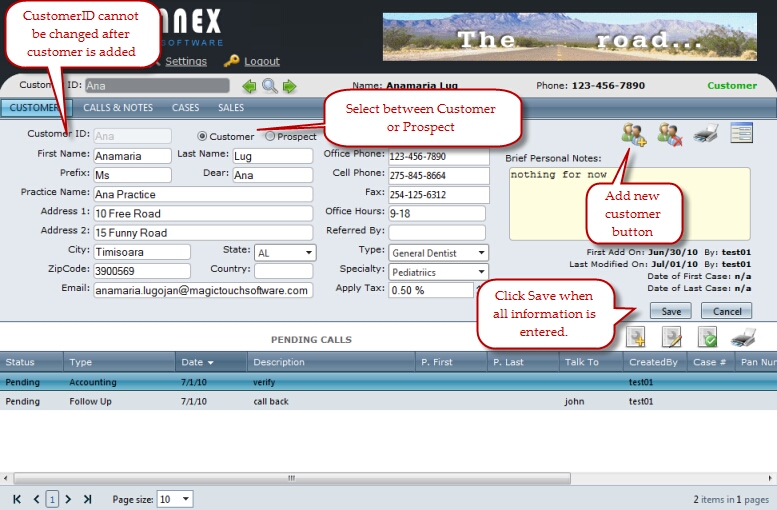
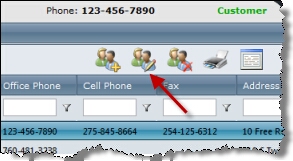
1. Click on the new customer button 2. A new form load and you can begin filling the form out with the appropriate information.
Customer form with details about how to add a new customer Note: When a new record is created the customer ID cannot be changed after initial creation. Any other information can be changed freely and at any time. 3. Click Save button to upload the new customer. Name and Phone will be populated on form header. Also First Add On date is set to the current date (the date when the customer is created) and the user name that added the customer to the database is displayed next to this date. |
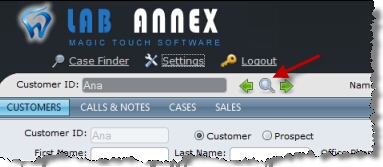
If you wish to quickly browse for a customer by certain information fields: 1. Click on the magnifying glass icon.
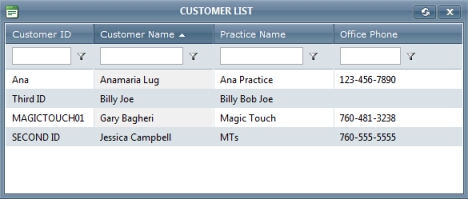
Search a customer 2. A search form will open and you are given four different fields to search from: Customer ID, Customer Name, Practice Name, and Office phone.
Customer list opened when the magnifying glass icon is clicked 3. When you find the desired customer, double click and that record will then load in the main browser window. Note: You can also see Next and Previous customers details by clicking on the arrows next to the magnifying glass icon.
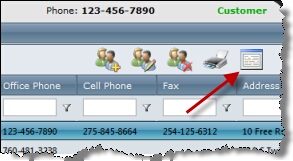
If you wish to search for a customer in an alternative way: 1. Click on the icon Browse located next to the Print mailing label button.
Browse button on Customer form 2. This will change your view to a list. Here you can filter your view to be in alphabetical order, reverse alphabetical order, and so on.
List View of Customers Note: If you wish this view to be the primary way you view customers you are able to set this option in the Settings > General Settings. 3. Once you have selected the customer you wish to view or edit click the same icon, which now shows, Go to customer.
Go to customer icon 4.Once you click Go to customer, the customer form will load and you can make any changes accordingly. 5. Once you are done making any necessary changes, you will need to click Save and your changes will be saved. Note: You can also make changes on Customer form if you click on Edit Customer button while you are in list view. After the necessary changes are made click Save.
Edit Customer button while in List View |

Not implemented yet |
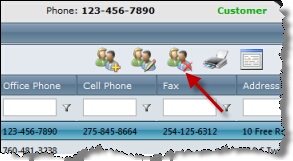
Important: Once the Customer is deleted, all related records including Cases, Calls and Sales are also Deleted! 1. Select the customer you want to delete. 2. Click on Delete button.
Delete Customer icon 3. Click OK when you are asked for confirmation. |
See also: